Published March 21, 2022
Updated May 20, 2022
Throughout the course of a support ticket, you may be requested to make a screenshot of your computer to assist in troubleshooting. The following provides some simple steps to achieve this.
On a PC:
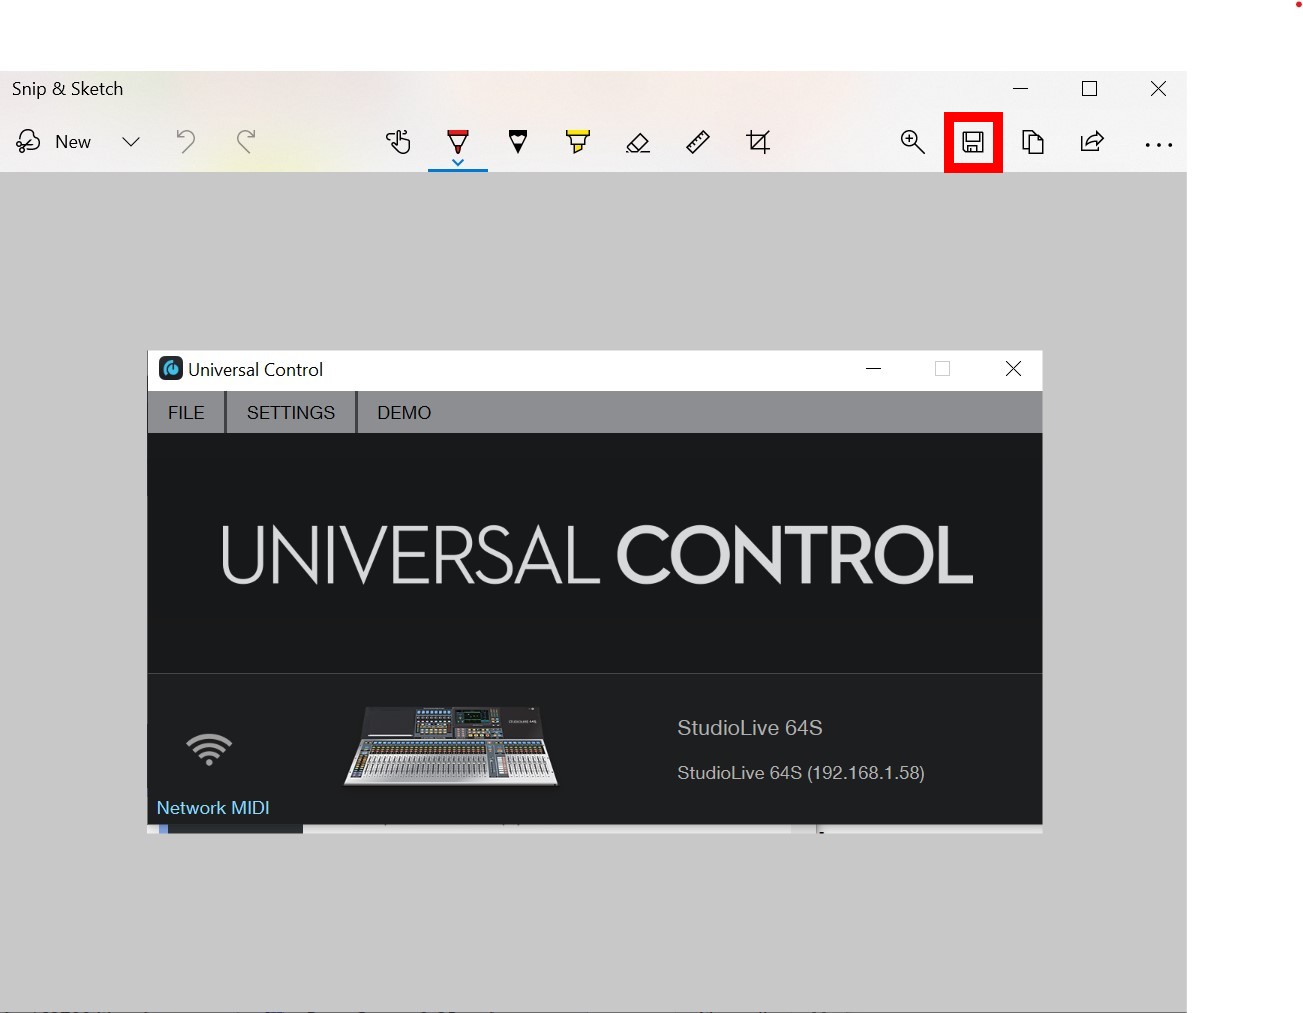
To take a partial screenshot, press the Windows key + SHIFT + S on your keyboard.
Your mouse pointer will then change shape. Hold down your left mouse button down and drag the pointer across the area you wish to capture. The image will be saved to the clipboard and you can 'paste' the copied image to any image application. Save the image and then attach it to your Support Ticket reply.

If you are unsure how to attach the file to your support ticket then please read the following article.
How-to-Add-a-File-or-Document-to-your-Support-Ticket
On a Mac:
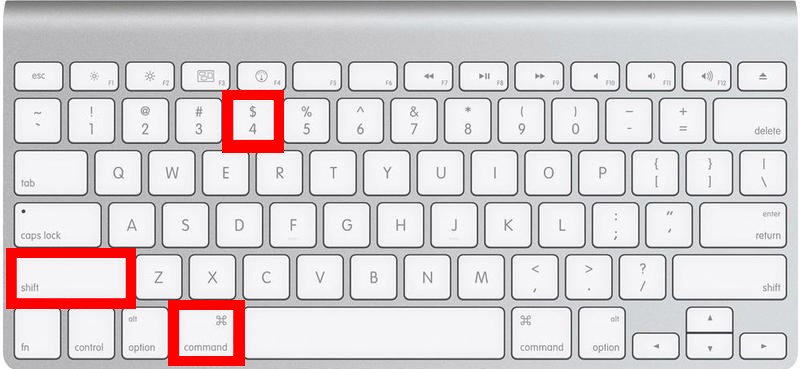
To take a partial screenshot, press and hold these three keys together: Shift + Command + 4.
Your mouse pointer will then change shape. Hold your left mouse button down and drag your pointer across the area you wish to capture. You should then see, a thumbnail in the corner of your screen, wait a moment and the screenshot will save to the desktop on your Mac. You can then attach the image to your Support Ticket reply.

If you are unsure how to attach the file to your support ticket then please read the following article.
How-to-Add-a-File-or-Document-to-your-Support-Ticket
==============================================================