Published 1st of April 2022
Updated May 20, 2022
PLEASE NOTE: Install Universal Control for access to the mixer, firmware updates, and extended preset editing. Revelator Downloads Page
This article outlines the steps involved in setting up a Livestream in Streamlabs OBS using the Revelator IO24, the Software Mixer built into Universal Control, and one of the Virtual Audio Outputs.
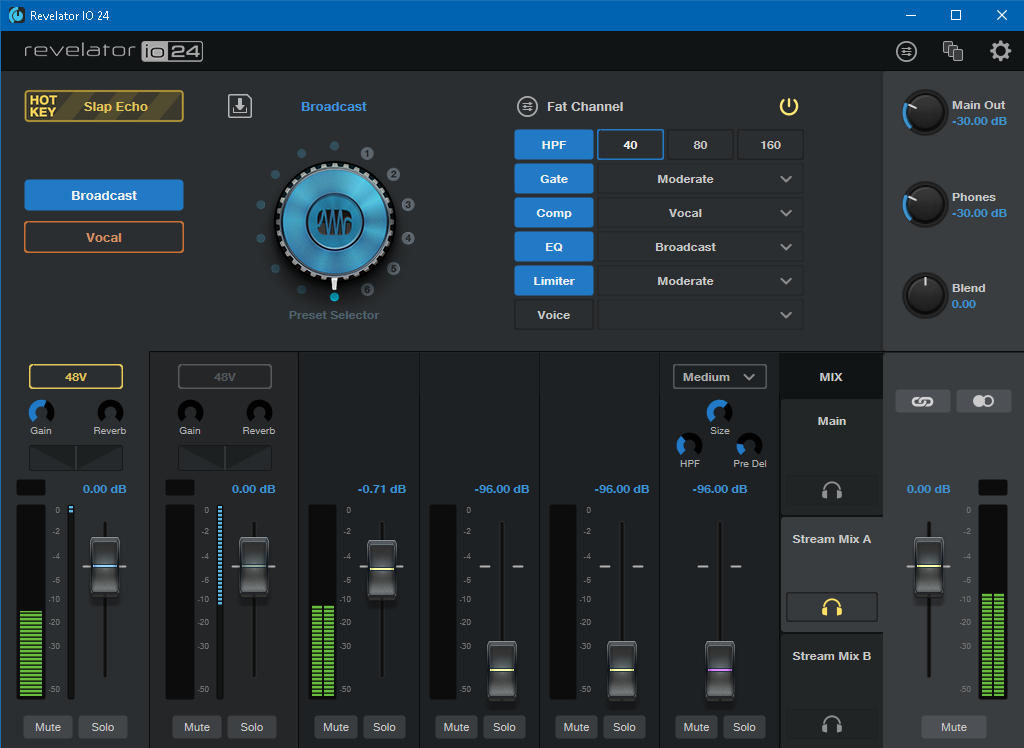
To open the mixer, open Universal Control and click on the Revelator IO24 icon. Here you will see individual channels for each of the three Inputs on the device along with three other channels: Playback, Virtual A, and Virtual B.
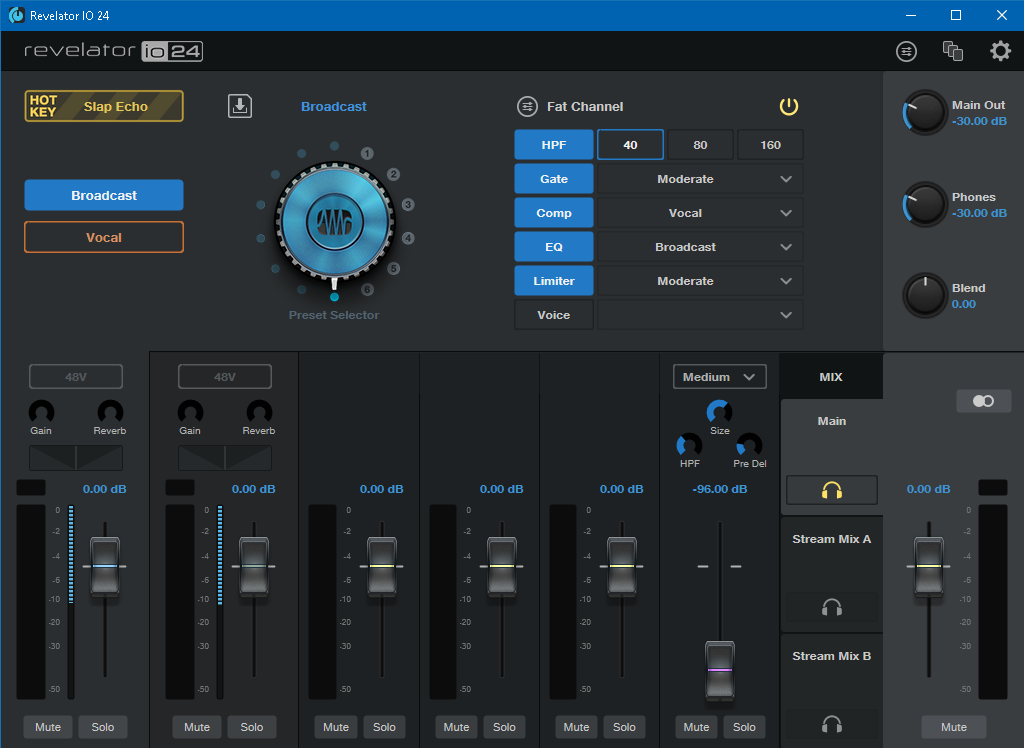
First, you will need to set the level for inputs. The Revelator IO24 has two Dual inputs which can be used to connect a microphone or an instrument, depending on your use case.
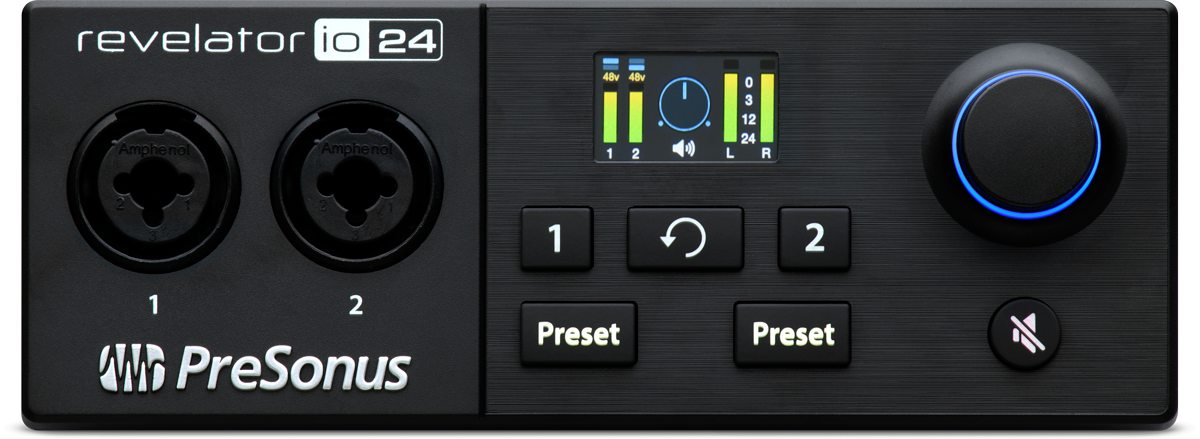
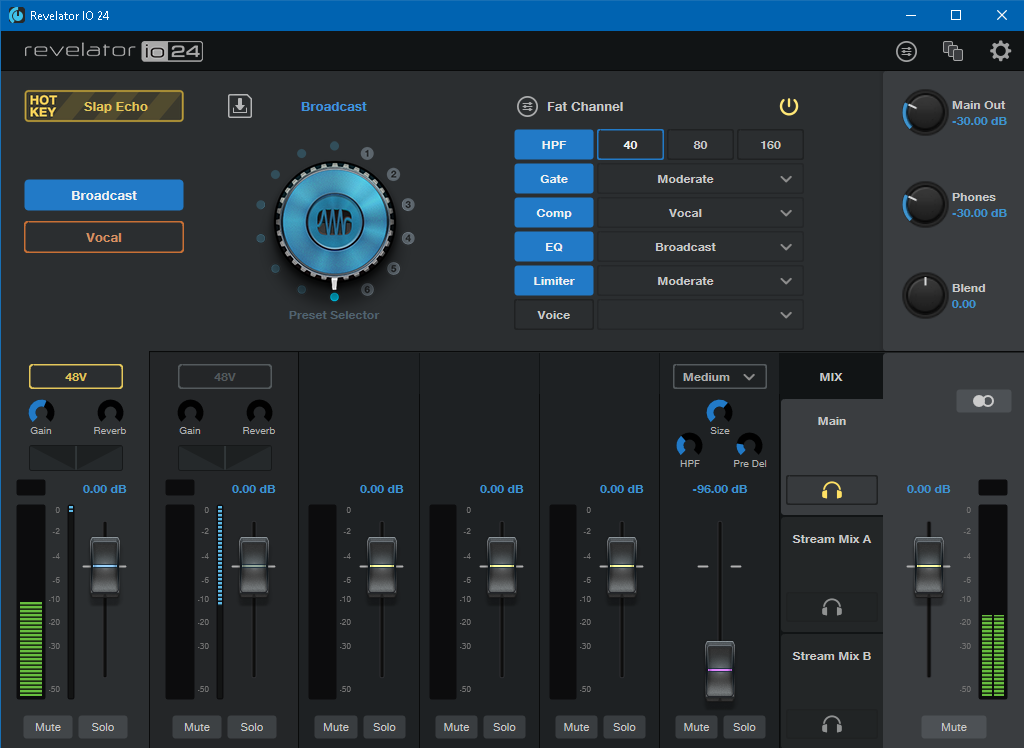
If you are using a condenser microphone, this will require phantom power to power the microphone. You can turn this on by clicking the 48V button on this channel in Universal Control. You can also turn this on by using the controls on the device itself. To do this, press the button for the channel you wish to select (either 1 or 2). Next, click the encoder once to select 48V then turn the encoder to turn on phantom power.
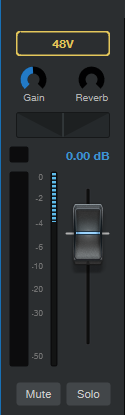
You can control the Gain and the level of each Input, as well as the Fat channel processing in the Universal Control Mixer.
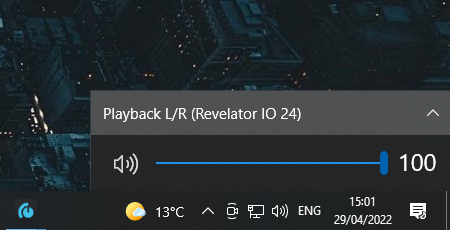
The next step is to route the computer's system audio to the mixer in UC. To do this on Windows, click the speaker icon in the bottom right corner of the screen and select Playback L/R (Revelator IO 24). This will send all of your computer audio to the Playback channel in the UC mixer.
On Mac, open the Sound settings in Mac System preferences and select Revelator IO24 as your audio Output device.
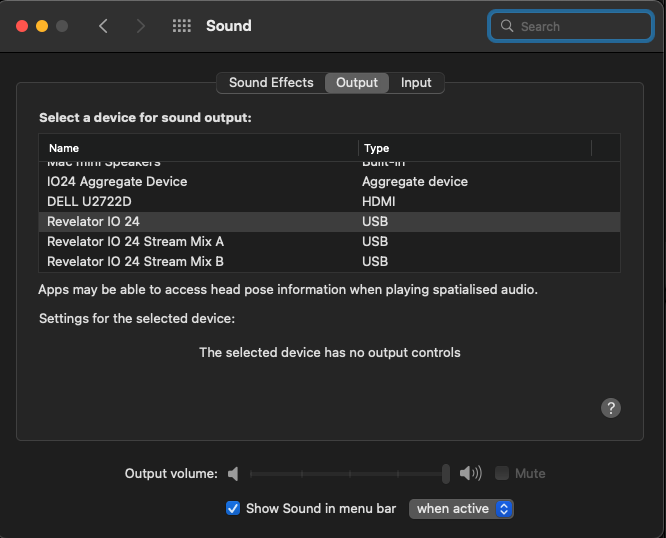
This will route all audio from your computer, YouTube, or game audio to the Playback channel in Universal Control.
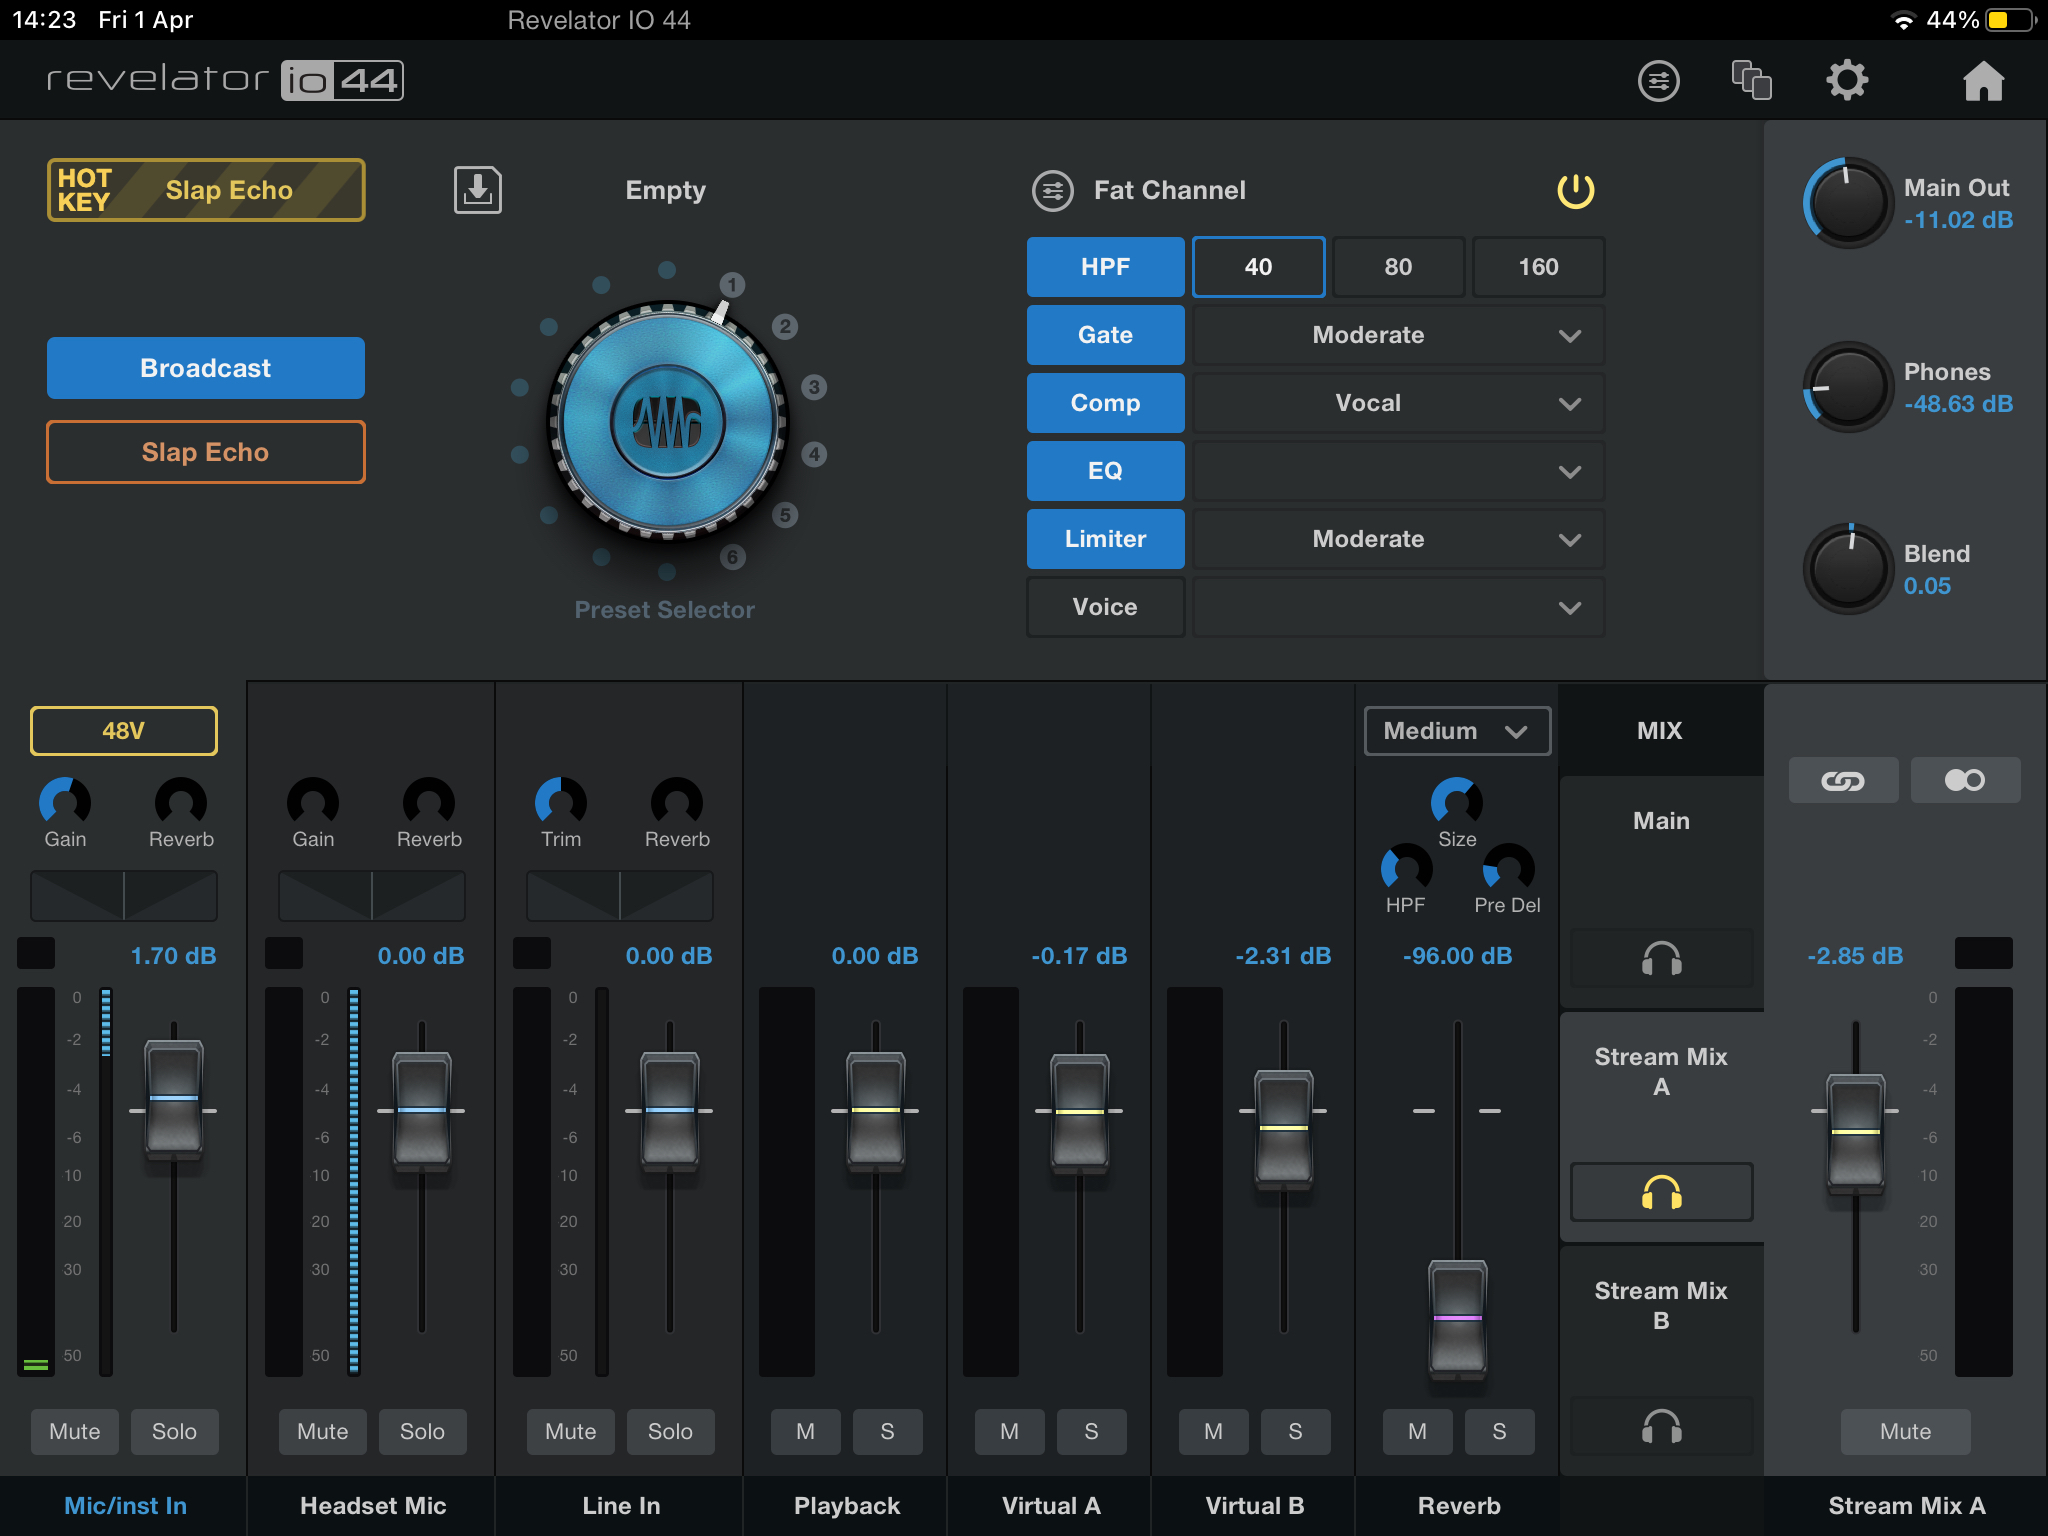
Universal Control has three Output Mixes. Main, is a hardware-only output. This will allow you to set the levels that you will hear in your headphones or speakers connected to the Main outputs.
Next is Stream Mix A and Stream Mix B. These are virtual outputs that allow you to route a stereo Mix of all of the Inputs to a separate application like OBS.
For this example, we will be using Stream Mix A to send audio to OBS.
Click on Stream Mix A to open the Mix. Turn up the fader for the Mic you are using and for Playback. Since we are not using the other channels currently they can be ignored or muted.
Now that audio is routed to the Mixer and all the levels have been set in Universal Control, the last step is to set up a stream in OBS and send the audio from Universal Control to OBS.
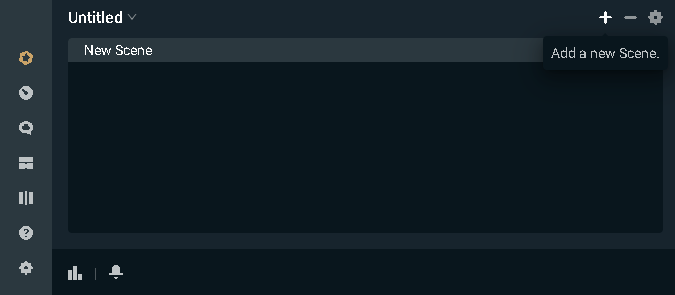
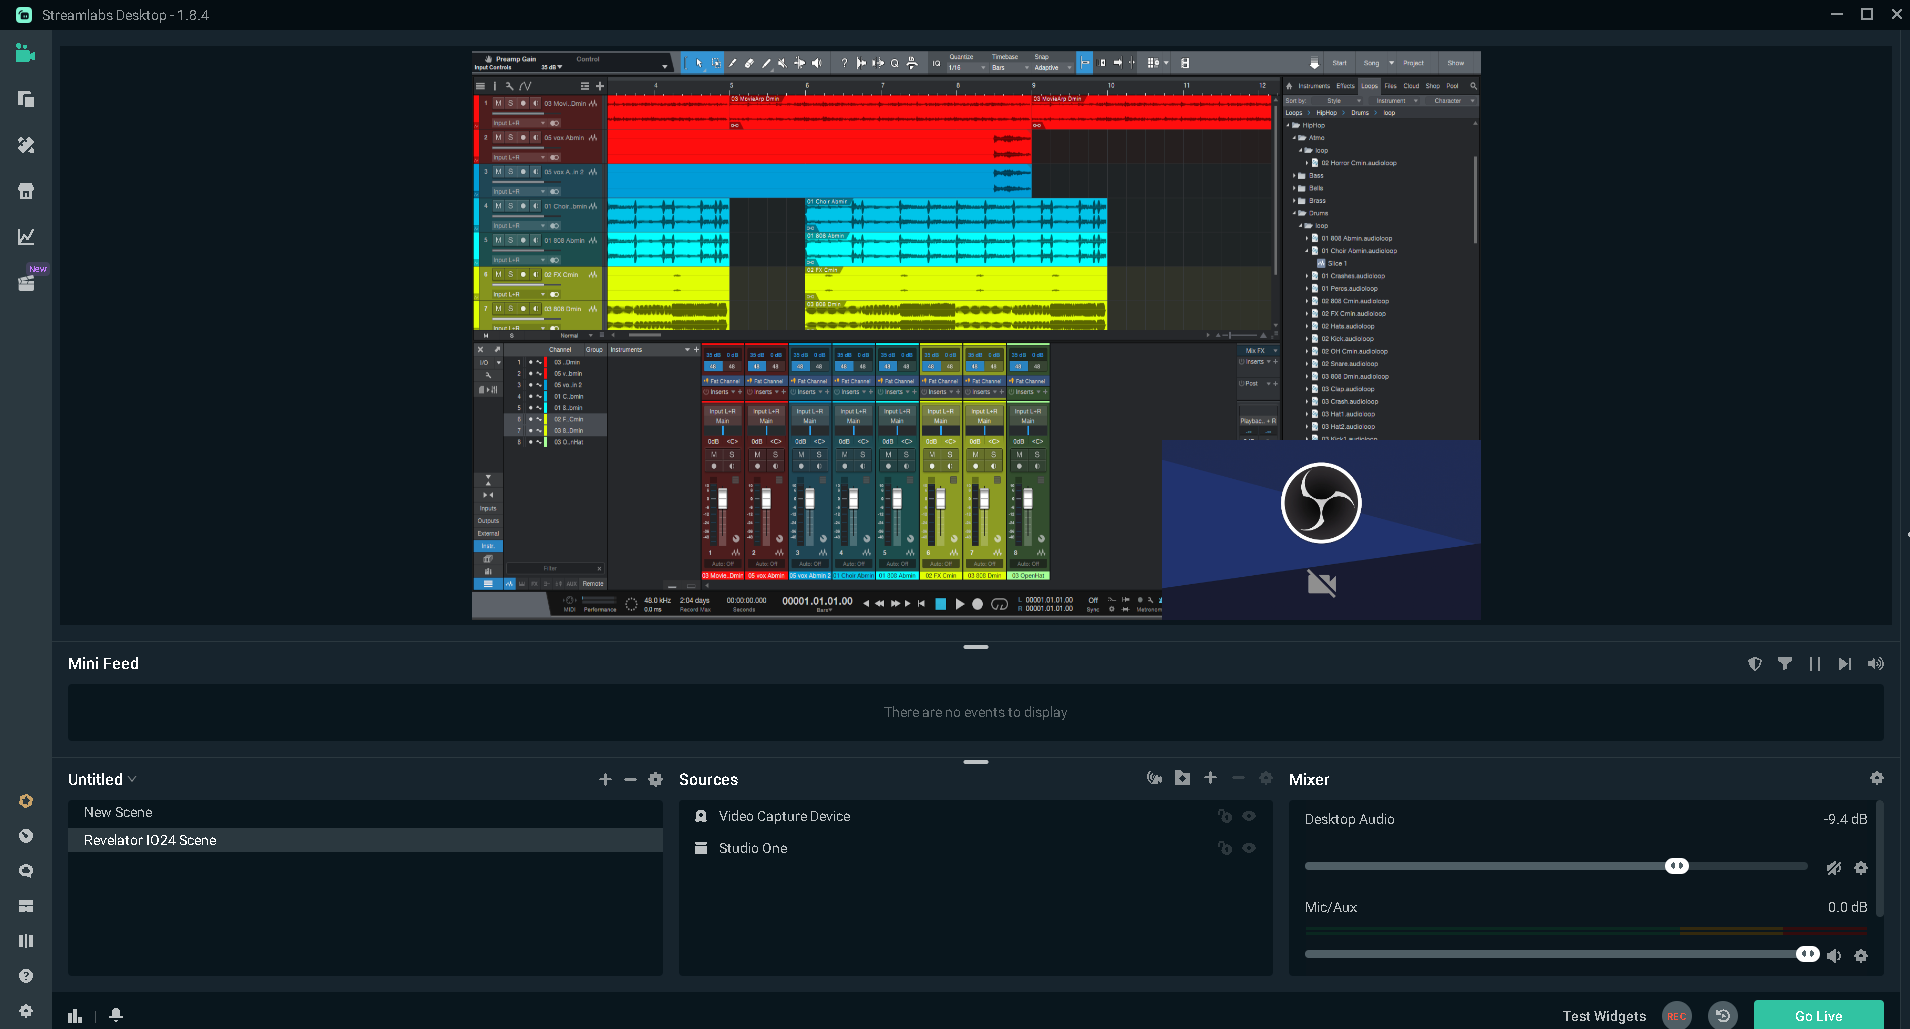
Open OBS and click the Plus button in the bottom right corner to create a new scene. Click this and name your scene.
Next, we will go to the Audio Mixer to set up our audio Input. By default, OBS will create two channels. One to capture desktop audio and one for a Mic/Aux Input. In this example, all audio will be routed to OBS through Stream Mix A so the Desktop Audio channel can be muted. To do this, just click on the speaker icon under this channel.
![]()
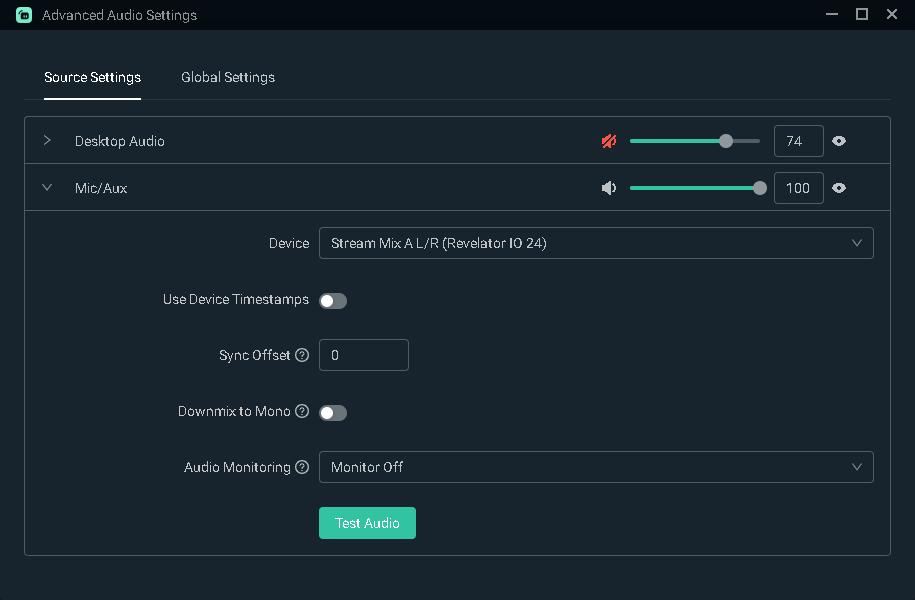
Next, click on the settings cog under the Mic/Aux channel and click Properties. This will open a new window where we can select our Audio Input device. Click the drop-down menu and select Stream Mix A L/R (Revelator IO 24). Click Ok.
All audio from Stream Mix A will now be sent to the Mic/Aux Input in OBS.
You can now go back to the sources and add a Window or Display capture as you require and also add your camera.
If you wish to control your levels during the live stream you can use the UC surface app to control the Revelator IO 24 mixer without having to open Universal Control on your computer.
That's it, you are ready to stream!
==============================================================
Please contact PreSonus Technical Support by creating a Support Ticket at My.PreSonus.com for further assistance.
>How to create a support ticket<