Published July 22, 2020
ATOM SQ is a mobile production controller that can utilize native support from Studio One 5.
With ATOM SQ connected to the computer, when Studio One 5 is opened, it should automatically connect ATOM SQ as a native device. If for some reason, Studio One 5 does not recognize ATOM SQ automatically, you can manually connect the device with these steps:
- Ensure that ATOM SQ is connected to your computer via USB cable
- Open Studio One 5
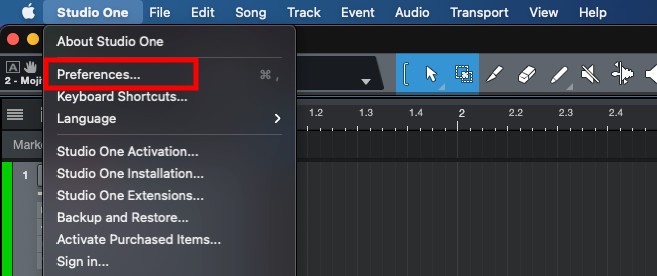
- Open Studio One’s Options/Preferences menu depending on whether you’re on PC or Mac.
- On Windows click Studio One from the task bar and then click Options
- On Mac click Studio One from the task bar then click Preferences
- Click External Devices
- Review the devices in the list.
- If you see ATOM SQ click it
- Click Edit

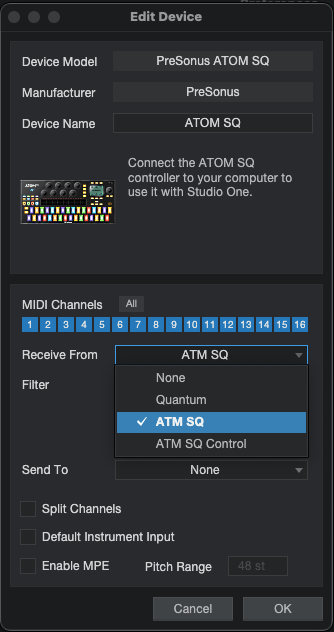
- Click Receive From dropdown in the MIDI Channels menu
- Select ATM SQ (Do not use ATM SQ Control)
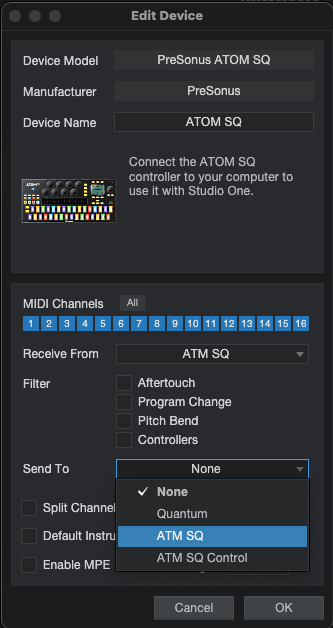
- Click Send To dropdown in the MIDI Channels menu
- Select ATM SQ (Do not use ATM SQ Control)
- Click OK
-
- The Studio One light on ATOM SQ should now be blue and in Native Mode
- If you do not see ATOM SQ in the device list then please see the following:
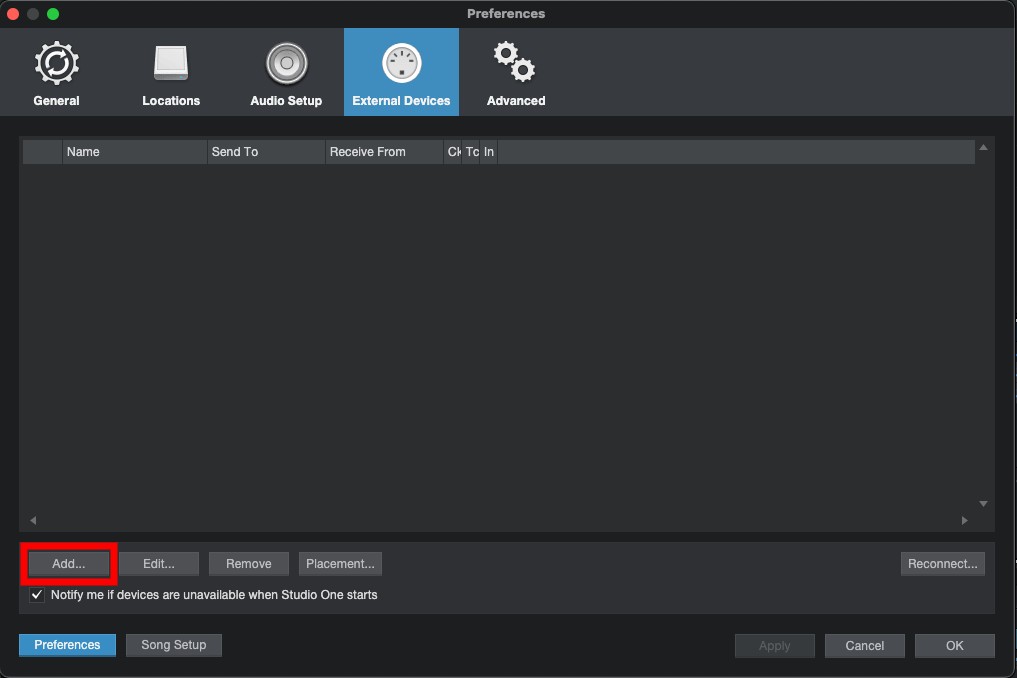
- Go to Studio One>Preferences(Mac)Options(PC)>External Devices
- Click Add..
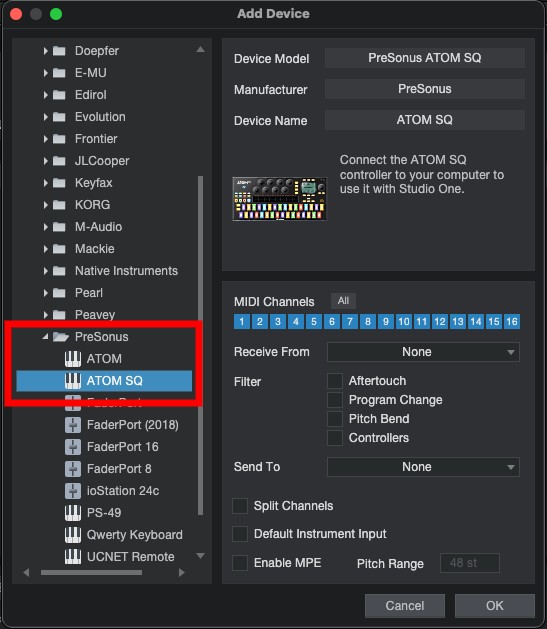
- Click PreSonus from the list of folders on the left hand side of the Add Device menu
- Click ATOM SQ
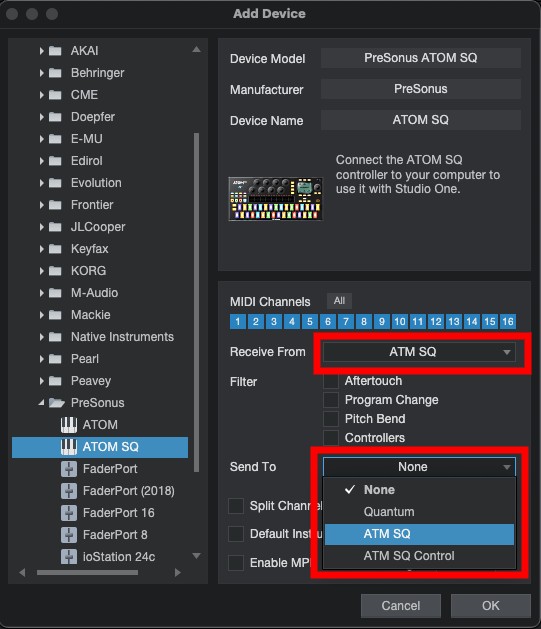
- Click Receive From dropdown in the MIDI Channels menu
- Select ATM SQ (Do not use ATM SQ Control)
- Click Send To dropdown in the MIDI Channels menu
- Select ATM SQ (Do not use ATM SQ Control)
- Click OK
- The Studio One light on ATOM SQ should now be blue and in Native Mode
==============================================================
Please contact PreSonus Technical Support by creating a Support Ticket at My.PreSonus.com for further assistance.
>How to create a support ticket<