Reviewed Nov 30, 2020
1. Plug a microphone into the Channel 1 input on your StudioLive Series III with a standard XLR cable.

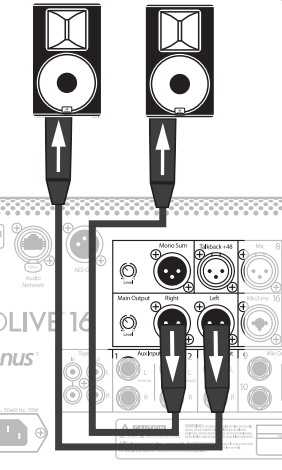
2. Connect the main outputs of your StudioLive to your powered monitors (or power amp if using passive speakers).
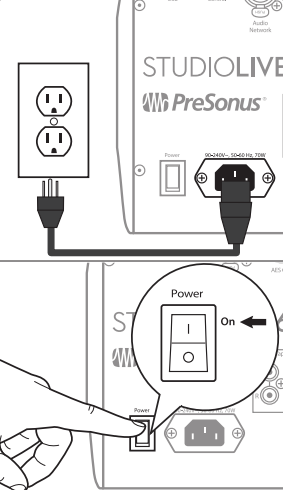
3. Plug your StudioLive into a power outlet and turn it on
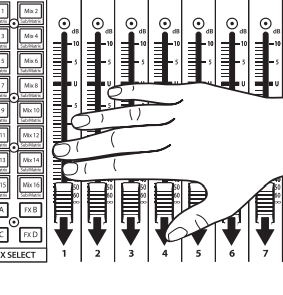
4. Move all of the faders on your StudioLive down to the lowest setting.
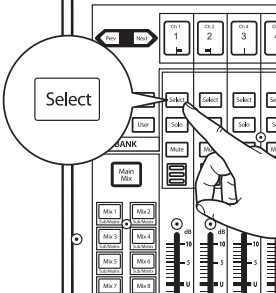
5. Press the Select button on Channel 1 to bring it into focus in the Fat Channel.
6. Press the Analog button in the Fat Channel to patch in the analog input.

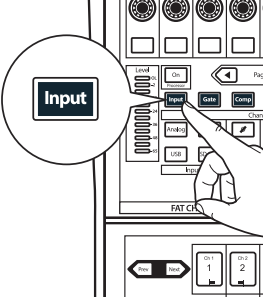
7. Press the Input button in the Fat Channel.
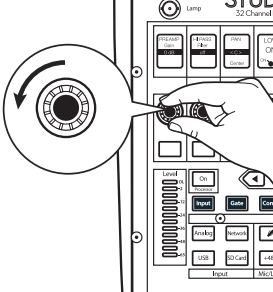
8. Turn the first knob in the Fat Channel section (Preamp Gain) counterclockwise to its lowest setting.
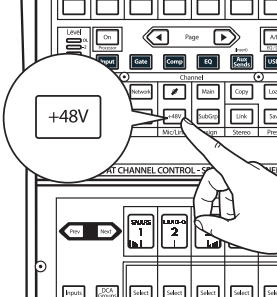
9. If your microphone requires phantom power, press the +48v button in the Fat Channel.
10. Turn on your powered monitors or power amp for your passive speaker
11. Speak or sing into your microphone at the same volume as the performance.

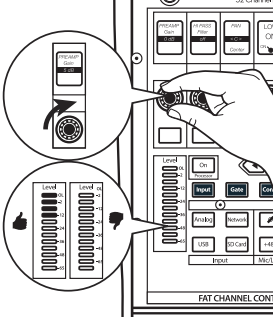
12. Turn the first knob in the Fat Channel section (Preamp Gain) clockwise while watching the Level (input) meter in the Fat Channel. Adjust the Preamp Gain knob until the meter shows an average level around the middle of its range. Avoid lighting the red (clip) LED at the top of the meter.
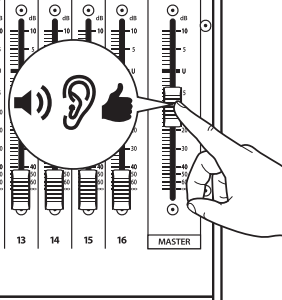
13. Raise the Channel 1 fader to its “U” setting (unity gain).

14. Press the “Main” button in the Fat Channel to assign Channel 1 to the Main output bus.

15. Raise the Main fader while singing or speaking into the microphone until you are satisfied with output level.
16. Use the Fat Channel controls to add dynamics processing and EQ as needed.

Once you have completed this, you are able to route FX properly through your mixer. See this link below for more information:
StudioLive Series III - Routing FX
==============================================================
Please contact PreSonus Technical Support by creating a Support Ticket at My.PreSonus.com/Support for further assistance.
>How to create a support ticket<