The following information explains the process for registering the Izotope Neutron Elements plug-in with Izotope and activating it for use within Studio One.
*If you are running Studio One 4 Artist, you will need to be running version 4.1.2 or higher for the plug-in to show up. The plug-in will not show up in Studio One 3 Artist.
***For information about M1 compatibility, please refer to the article below...
https://support.izotope.com/hc/en-us/articles/360052231634-Compatibility-with-macOS-11-Big-Sur
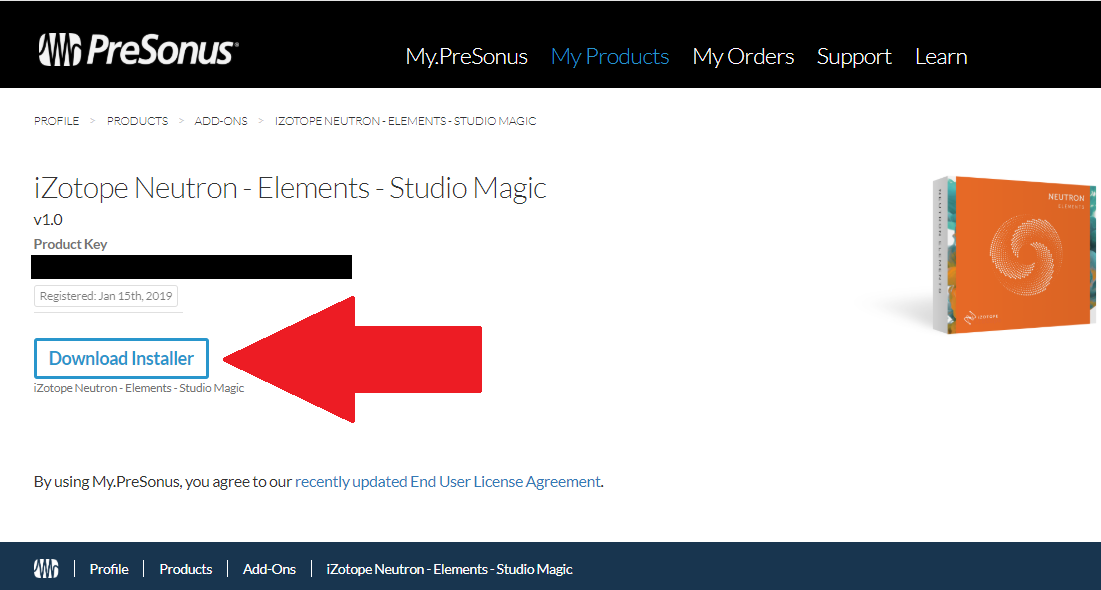
1. You can find your product key for the Izotope Neutron Elements Plug-in inside of your https://my.presonus.com account. Once you are logged into your account, just go to My Products>Add-ons to locate the plug-in. Below is a screenshot.
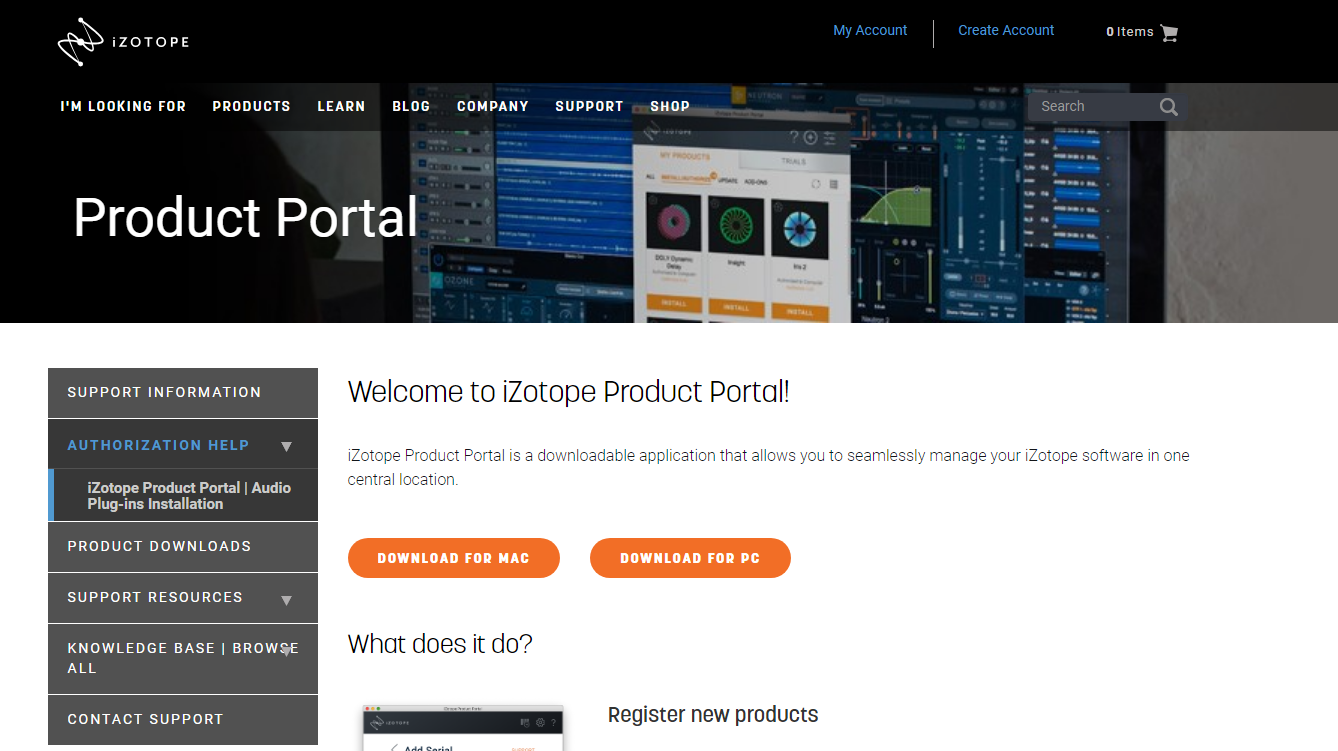
2. Click the "Download Installer" button to be taken to the Izotope web site. You will come to a landing page where you can download the Izotope Product Portal app. Here is a screenshot of the landing page:
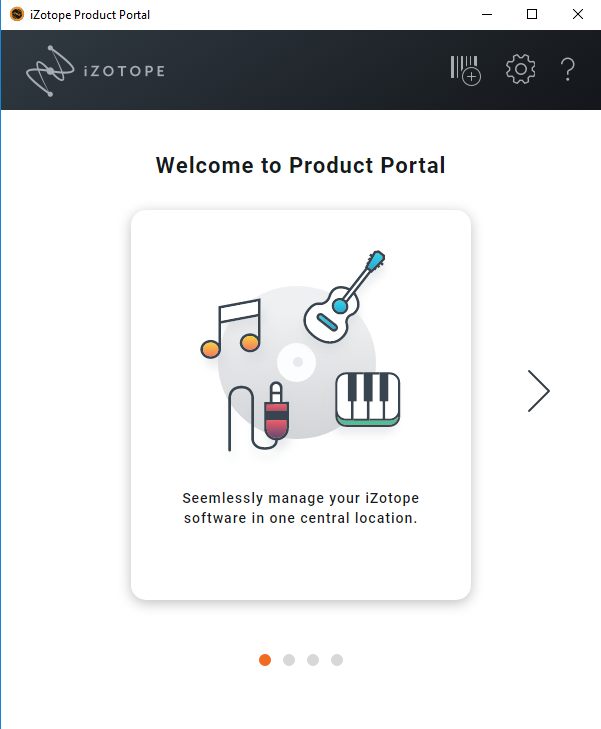
3. Download the version for your operating system and install. When you first run the app, you will see the below screen...
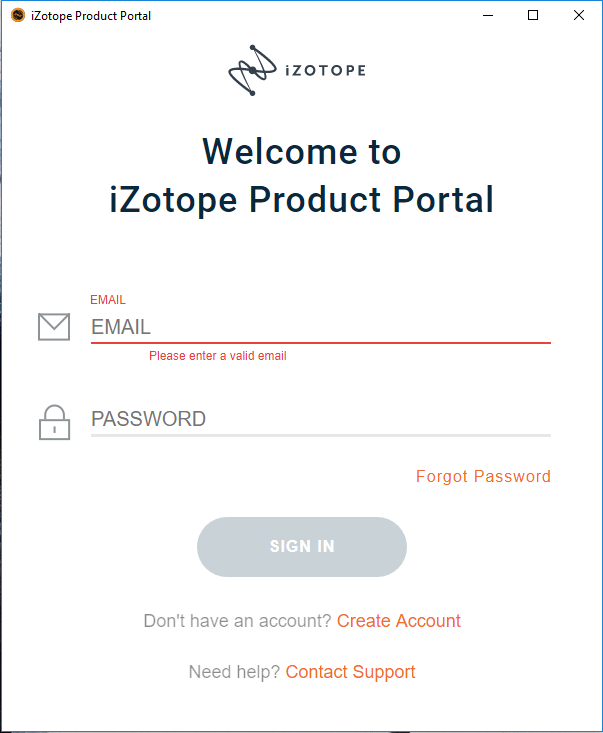
4. If you have an account with Izotope, please log in. If you do not have an account, please click the link that reads "Create Account." You will then be taken to this page...
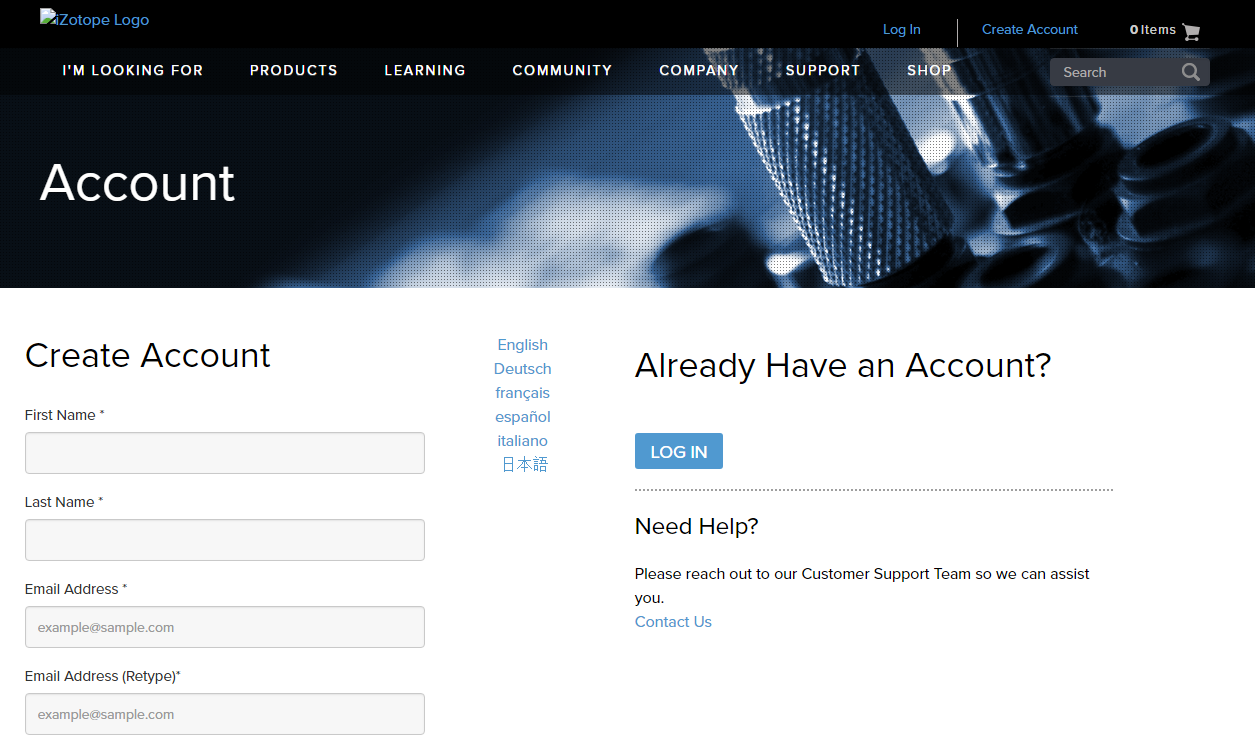
5. Fill in the requested information to create your account. You will then be welcomed to the Product Portal.
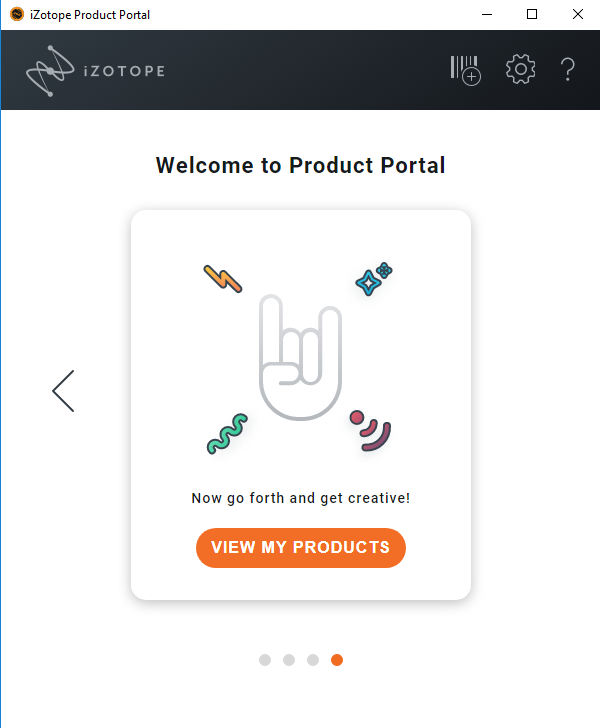
6. Keep pressing the right arrows until you get to the final page. Here you can click the button that reads "View My Products."
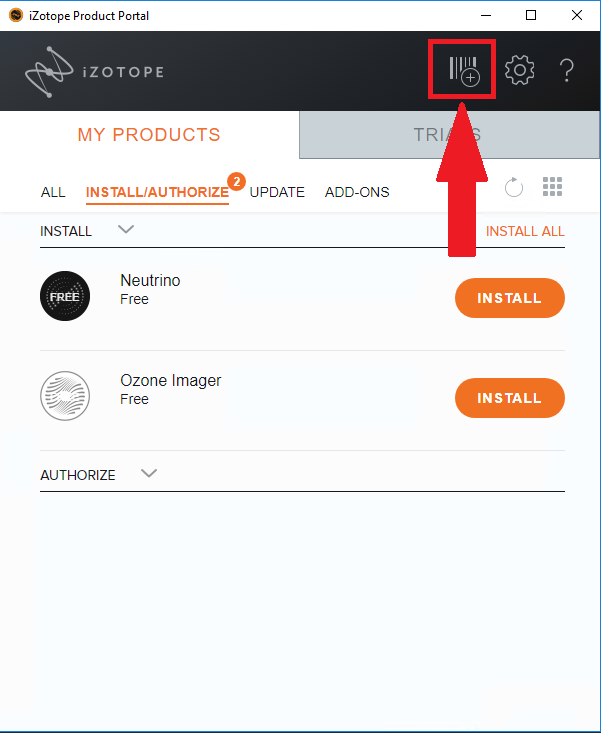
7. On the next page, you will see a button at the top of the window where you can register a new product. Below you will see an image with an arrow pointing to the button that you need to press...
8. You will then be taken to the window illustrated below. This is where you can copy the Product Key as illustrated in step 1 into the field asking for the serial number. Press Submit.

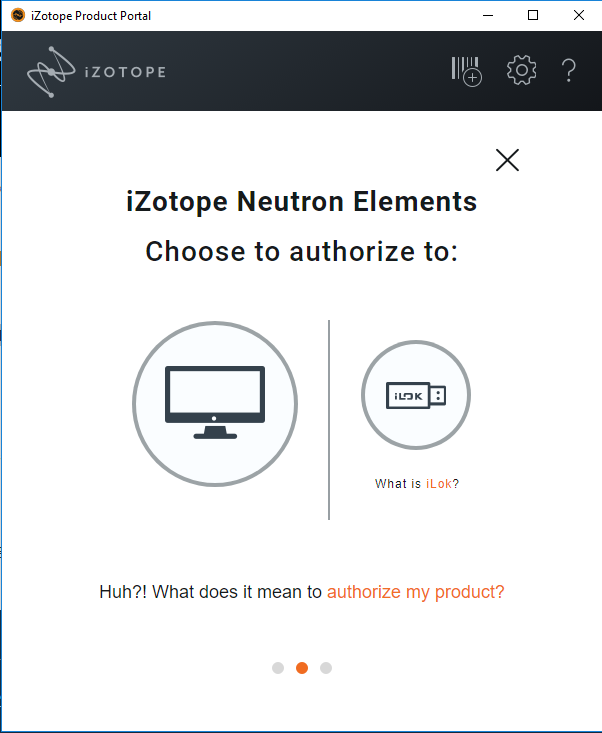
9. In the next window, you will be asked how you would like to authorize the software. If you do not have an iLok, or you do not wish to use an iLok, click the image of the computer to the left.
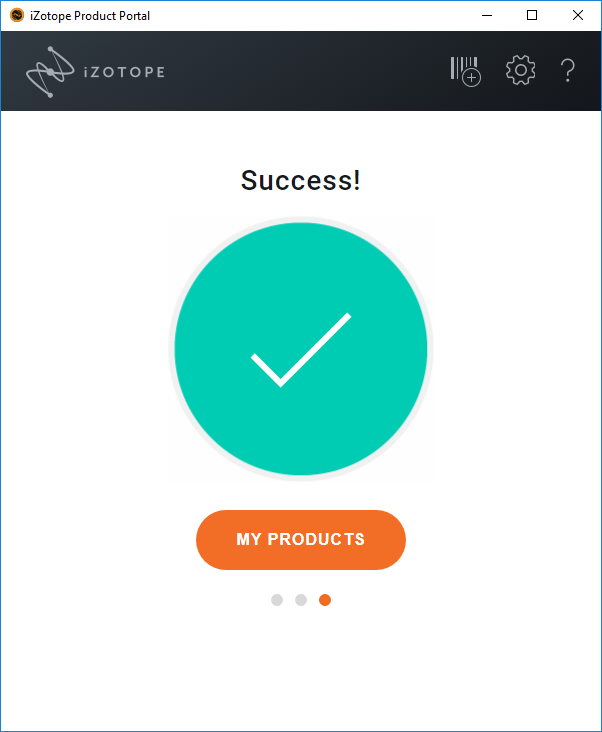
10. Once activated, you should see the window below indicating that the activation was a success.
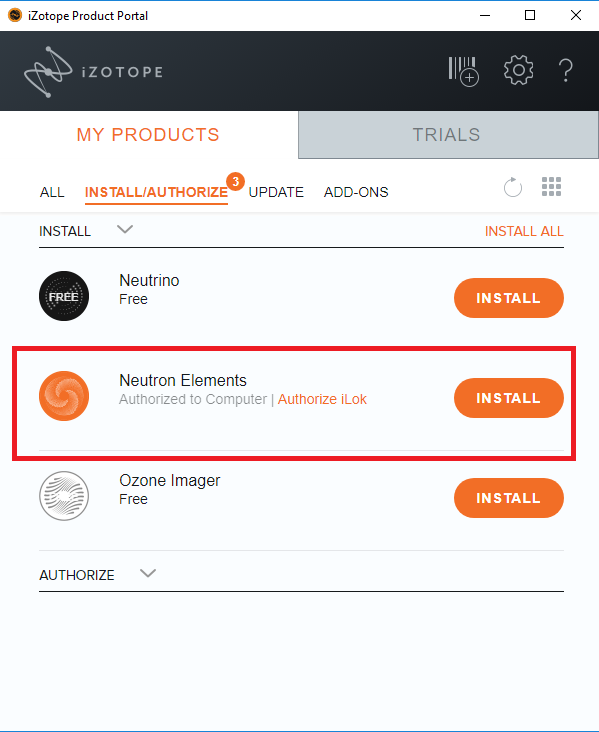
11. Click the link on the above image that reads "My Products." You will then see the image below, where you can download/install your software. Click the "Install" button to the right of Neutron Elements.
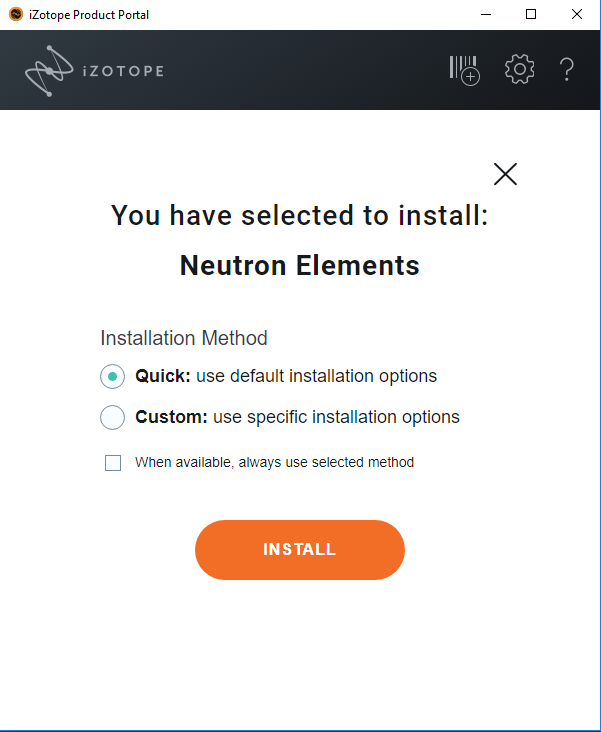
12. You will then be taken to the window below where you can choose "quick" or "custom."
***If you are running the "Artist" version of Studio One 4, you will want to choose the option for "Custom."
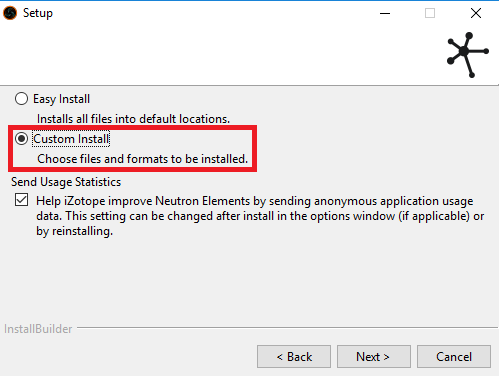
13. Once you choose the button to "Install," you will see the following screen. Choose your installation option and press "Next."
***If you are running the "Artist" version of Studio One 4, you will want to choose the option for "Custom Install."
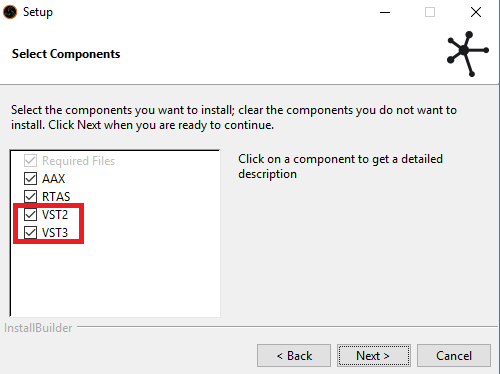
14. When you get to the window below, you will want to choose VST2 and VST3 if you are using Studio One. You can install AAX and RTAS if you would like, but Studio One is going to work with VST2 and VST3.
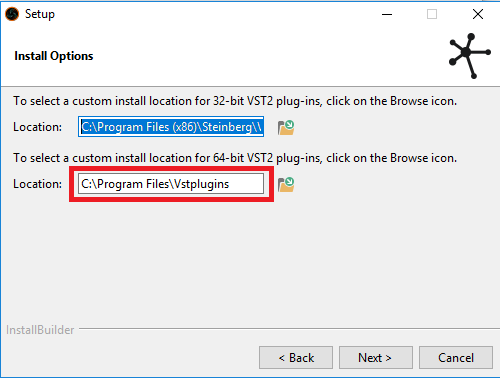
15. Please pay close attention to the screen below. Studio One will scan the c:\Program Files\VSTplugins directory by default for VST2 plugins. You may want to install the VST2 version of the plug-in into this directory. The 64-bit location is all you need to be concerned with if you are running Studio One 4.
***On a Mac, the VST directory is set by default for the system. There is no need to change the defaults as Studio One should automatically pick them up.
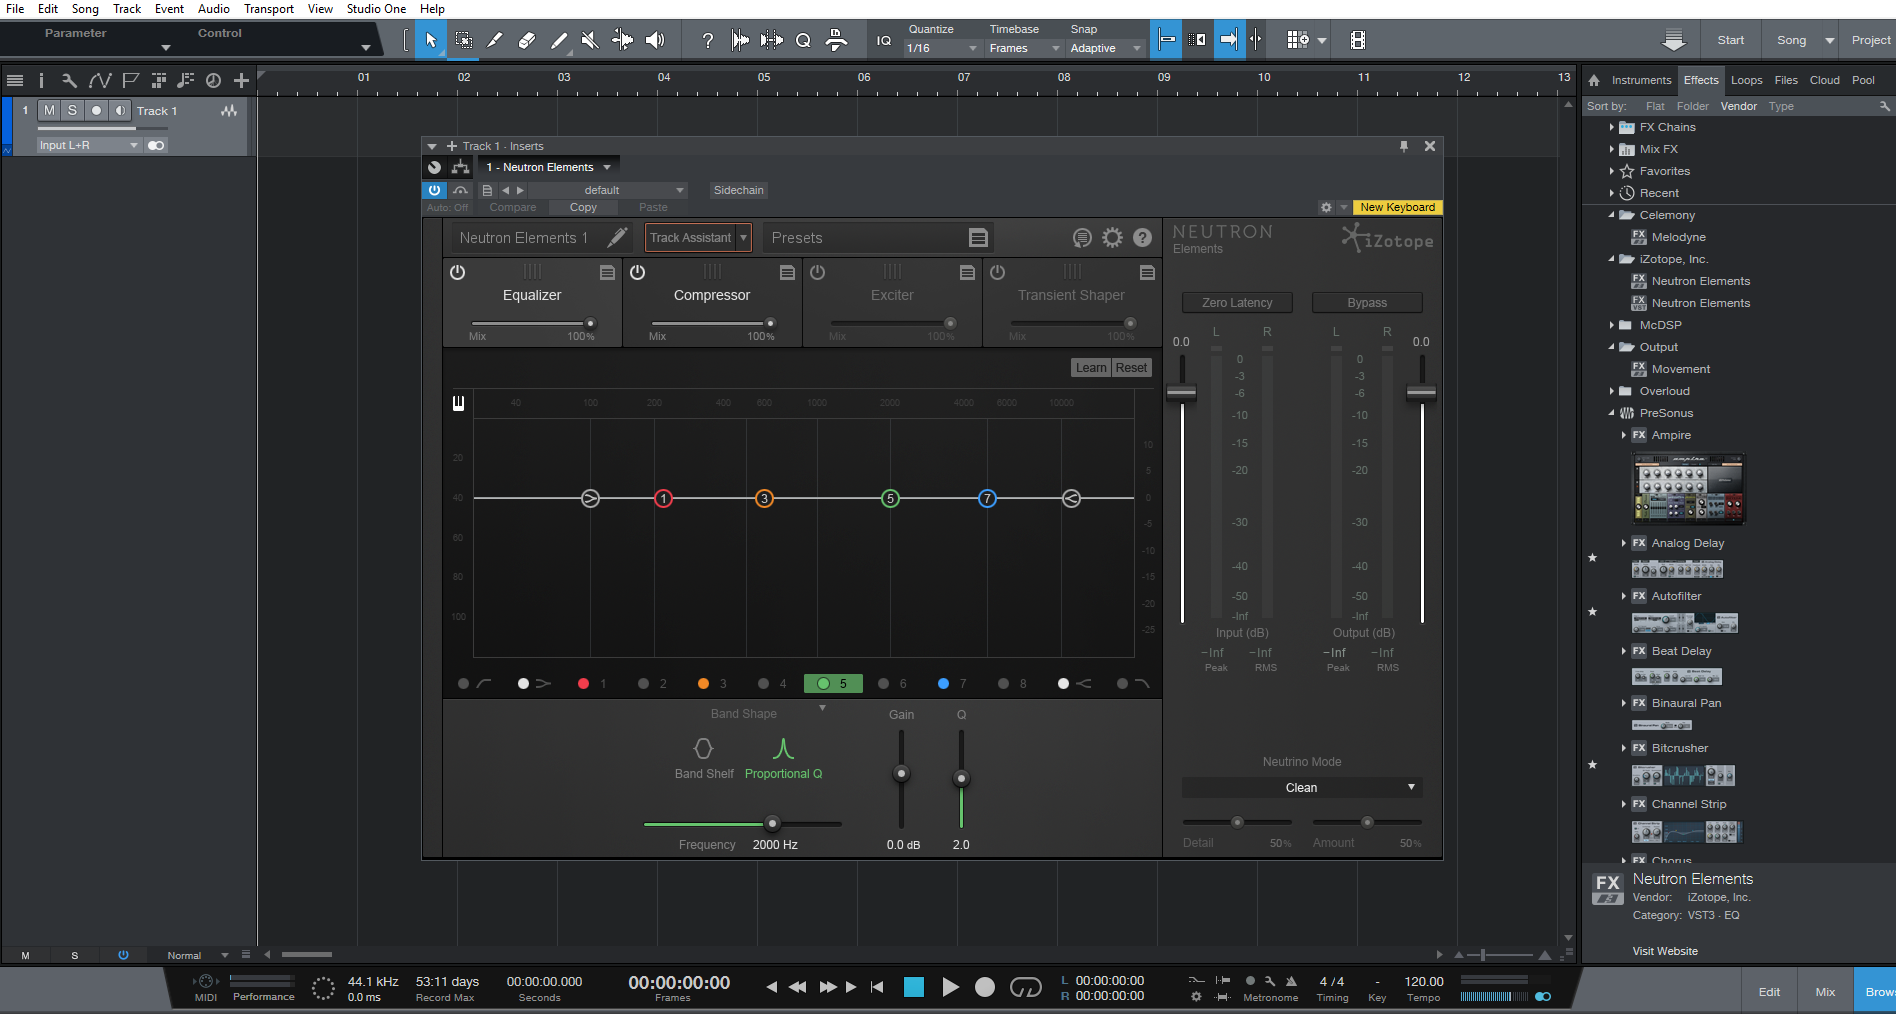
16. Once you have completed the installation, you can open Studio One. Izotope Neutron Elements will show up under the Effects tab in the Browser window. Drag it onto a track to use it, as illustrated below.
Here is a link to the Izotope support page: https://www.izotope.com/en/support/support-information.html